In this tutorial i will show you how to make custom qr codes using photoshop cs3 and higher. I will be using photoshop actions i have made and you can download them at graphicriver.
Once you have downloaded these actions, install them to your photoshop(double click on .atn file should work) and follow this tutorial.
Sorry for my terrible english. Hope you will understand.
Step 1: Generate your qr code
Because is not possible to generate qr codes in photoshop, you need to do it using free online qr code generator.
However, the actions are designed to work with qr codes version 3, it means the code must have 29 rows and columns. This version is ideal for encoding url adresses with highest error correction level (up to 30% correction, so you can erase up to 30% of information and put your logo insted, and code is still readable).
So, you need url adress. But your url cannot be too long, so if you use long url you shlould use url shortener. Good one is bit.ly that is free and provide stats, custom options etc..
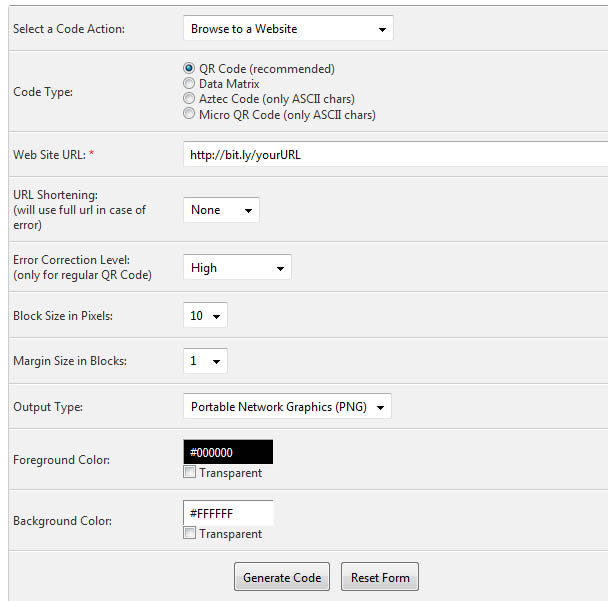
When you have url, we are going to make your code. Does not matter what generator you use, i use Keremerkan`s: http://keremerkan.net/qr-code-and-2d-code-generator/
Go to this adress and fill the form as in image below. Important are only first 5 columns in the form, styling doesn`t matter.
Step 2: open your code in photoshop
When your code will show up, right-click on it and save. Then open in photoshop. If you have photoshop opened, simply drag it and drop in photoshop.
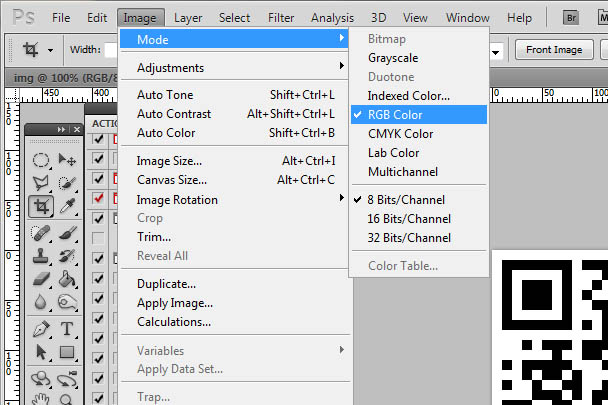
Then make sure it is in RGB color mode. (menu: image/mode/RGB Color)
Step 3: Inserting Logo (optional)
Well, what we are actually going to do now is not inserting your logo, but preparing a place for logo. It means we are going to fill some squares in the area where logo will be with black or white. It`s not really nesessary step, but your code will be looking much better at the end, if you do it. It`s because in later editing the hard edges of the code will be smoothened and if you prepare an area for logo, edges around the are will be smoothened too. You will see what i mean.

Now find the actions in your photoshop. In first section are actions for adding place for logo. You can see actions for different shapes, and also "add" or "substract" of each shape. "Add" means that the area will be filled with black, "substract" means white color. Choose one action and play it. If your code has 29 rows/columns, the area for logo will be exactly cutted out or added. Then run the "Done" action - it will merge down layers.
There is also "CUSTOM" action. This action will help you if you want to make area for logo in other position or size. If want custom logo area, run this action.
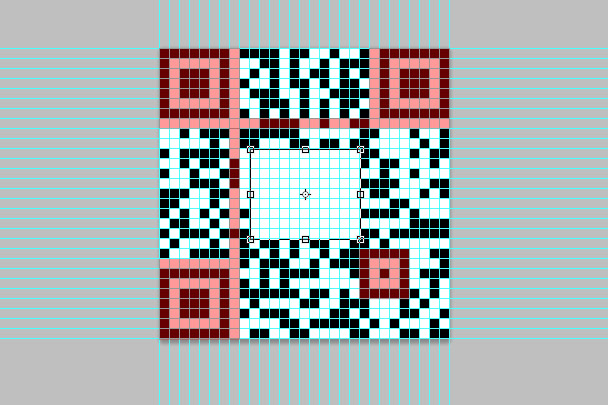
"CUSTOM" action generate white longeron in center and guides. Press Ctrl+T (Command + T on mac) and transform this area to desired size/position. Guides helps you to do it exactly as the squares are. To not loose readability, do not cross areas that are highlighted with red in image below, and don`t make the area too big(max 30% of squares can be erased). Then press enter, and if want it to be black, press Ctrl+I. Then play "Done" action(this action clear guides and merge layers).
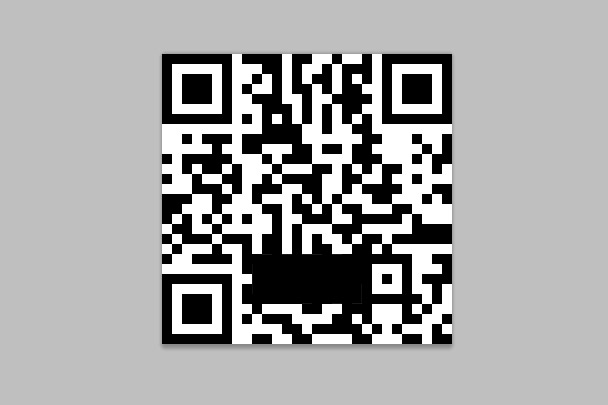
Now your qr code can looks for example like this:
Before next step, you can run "make snapshot" action from "history help" section and you will be able to get back to the current history stage without browsing history(just play "go to snapshot"). So you can try different effects in next step.
Step 4: Choose your code style/effect
This step is quite easy. Just choose one actions from "code styles" section and press play. The result will be 2000 pixels wide/high in new layer. I choose "Thin rounded" and it looks like this:
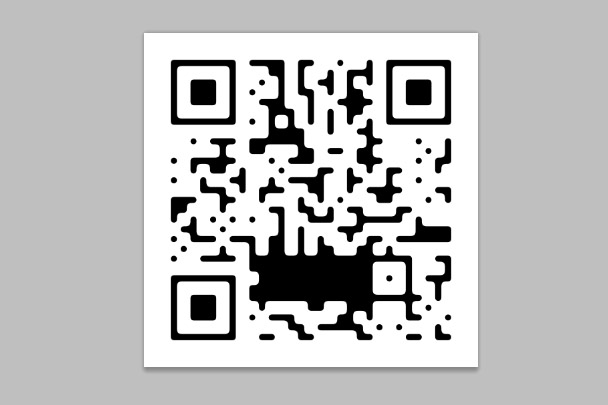
Step 5: Changing corners (optional)
This step is pretty easy too. If you want to replace corners, pick one action from "Corners" section and play. These actions erase original corners from code layer and make new corners in new layer. I choose "Rounded more" and here is the result:

Step 6: Applying styles
Now the funny part. You can choose from styles from "Styles" section or apply your own and personalize your code to fit the design where you use your code. If you changed corners, you have two layers, so you can apply different styles to body and corners (if don`t want, right click on corners layer and merge down).
You can find your own styles here: Menu/Window/Styles
Or you can apply custom: Right mouse click on the layer/blending options
And an the end place your logo: Menu/File/Place... Then transform it (Ctrl+t) and move on the prepared area.
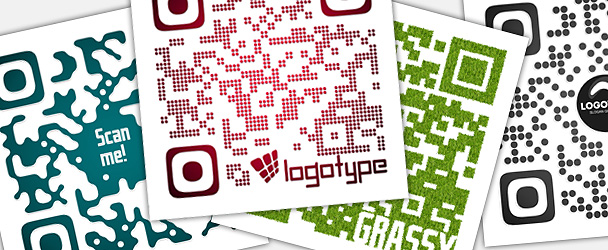
Here is what i made:
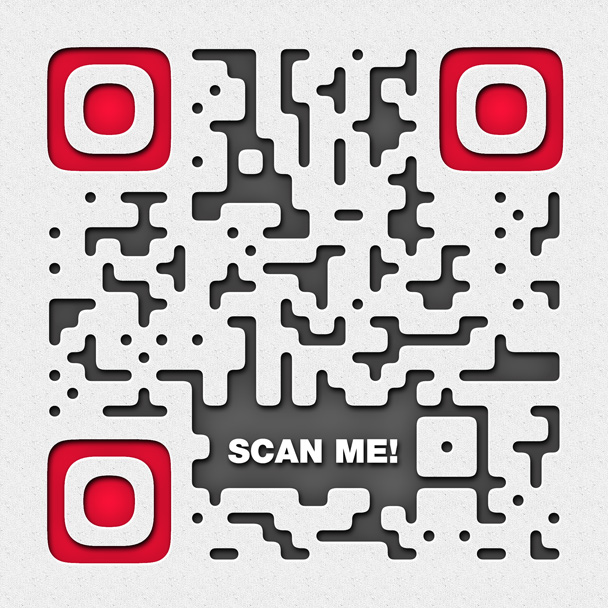
I made a text layer "SCAN ME!" instead of putting logo, applied "pressed red" action to corners and "pressed grey" to body layer. And a pattern backgroung layer.
So, hope you understood this tutorial and thank you for purchasing my actions ! If you like these actions so much as i do, don`t forget to give them 5 stars on graphicriver. Thanks!
▼▼ Share ▼▼
No comments:
Post a Comment